How to Add Memory to iPad: Your 2026 Guide
You’re usually not searching for add memory to iPad because you’re curious. You’re searching because something stopped you. An offline lesson won’t download before a flight. A folder of pronunciation videos won’t save. A communication app you rely on for school, work, or daily routines suddenly competes with photos, browser clutter, and old media you forgot was still there.
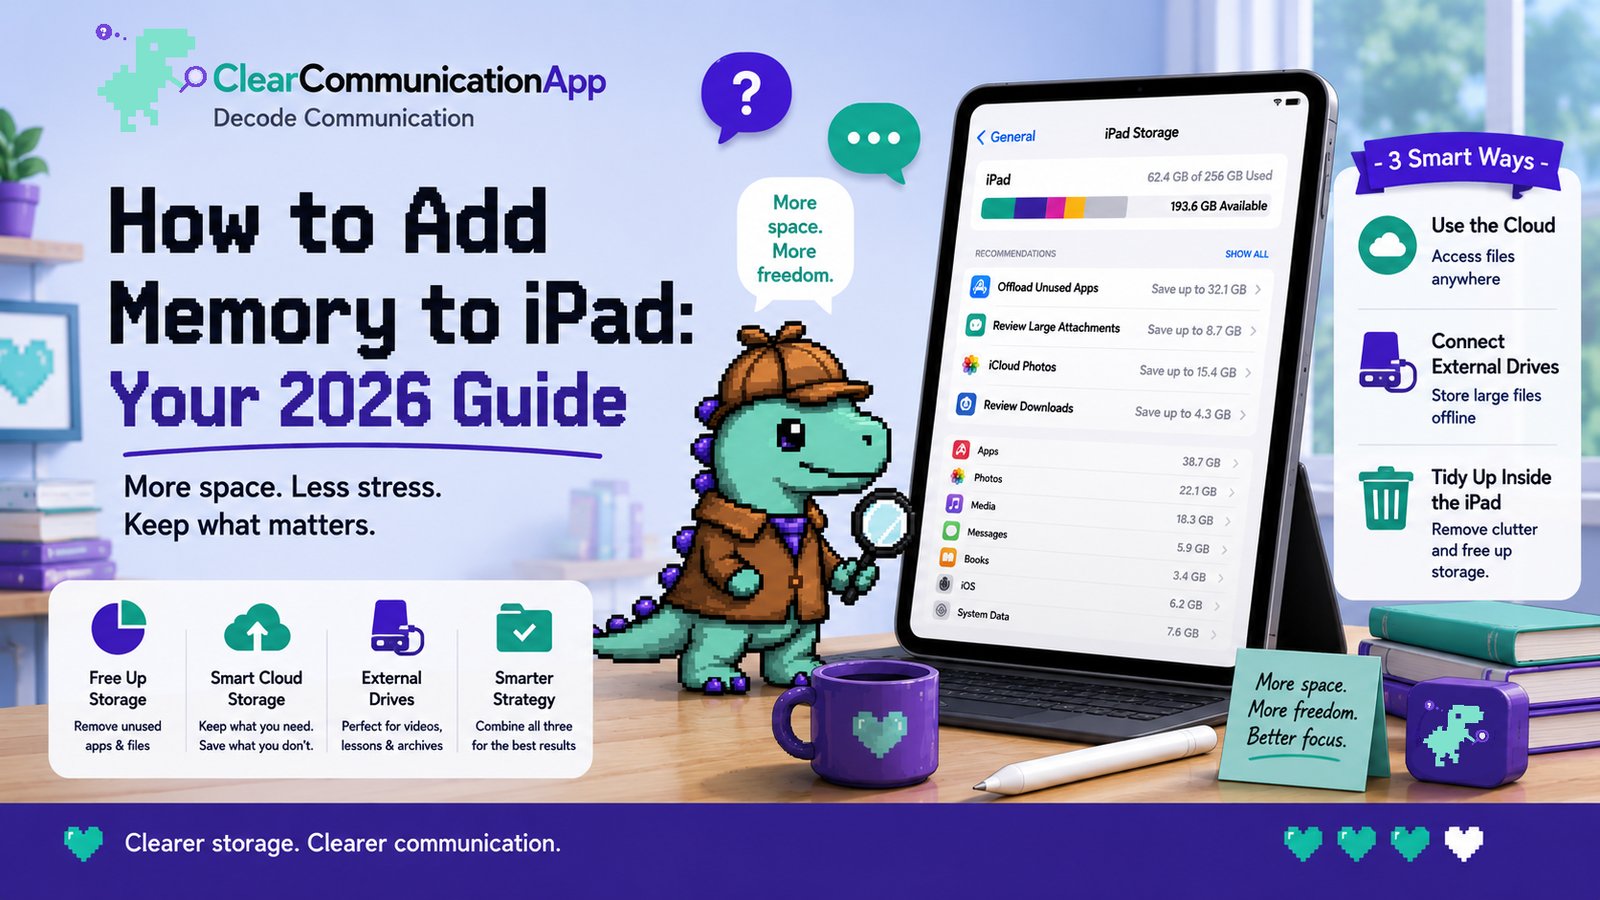
The first thing to know is simple. You can’t physically add more internal memory or RAM to an iPad. Apple has never offered expandable RAM or internal storage on any iPad model since launch. So the practical question isn’t how to install new memory chips. It’s how to expand usable space.
What “Storage Almost Full” Really Means
On an iPad, “adding memory” means choosing where your content lives and how much stays local. There are three practical ways to make room:
- Free up internal storage by removing unused apps, old downloads, and media.
- Use cloud storage for files that can stay online or be downloaded only when needed.
- Use external drives for large video libraries and offline files.
First Steps: Tidy Up Inside the iPad
Open Settings → General → iPad Storage. Stay there for a minute before deleting anything.
The fastest cleanup wins
Apple’s Offload Unused Apps setting is one of the best no-cost fixes. Offloading can recover 15–40% of storage depending on your app library size, while preserving each app’s documents and data.
- Offloading removes the app itself but keeps your data.
- Deleting removes the app and its stored data unless that data syncs somewhere else.
Clear large files and silent clutter
- Old lesson videos you already watched
- Duplicate PDF packets
- Downloaded podcasts you won’t replay
- Screen recordings you forgot to delete
- Browser downloads sitting in the Downloads folder
Use the Cloud for Effortless Space
iCloud works best for files that matter, but don’t need to stay downloaded in full resolution at all times.
A simple iCloud Photos setup:
- Open Settings → [Apple ID] → iCloud → Photos.
- Turn on Sync this iPad.
- Enable Optimize iPad Storage.
That keeps smaller versions on the iPad and stores the full originals in iCloud.
What stays in the cloud vs on the iPad
Connect External Drives
If your iPad has USB-C, modern external storage connects directly. Older Lightning iPads need adapters.Format matters
- Choose exFAT when possible.
- Avoid NTFS for iPad use.
- Avoid FAT32 for large video files (4GB file size limit).
- Expect power issues with some older hard drives.
Files app workflow
- Connect the drive.
- Open Files.
- Look under Locations for the external device.
- Open your iPad folder or the local file source.
- Copy or move large files to the drive.
Choose Your Best Storage Strategy
For many people, the best result comes from combining all three. Keep the iPad focused on current work. Let cloud storage handle synced files. Use an external drive for large archives.
ClearCommunicationApp helps you build clearer everyday communication across English and Spanish with a library of 3,400+ phrases—something easier to maintain when storage isn’t standing in your way.
Related Articles
Was this helpful?
One new phrase per week
Clear, practical tools for bridging communication gaps. No spam, unsubscribe anytime.
Share this article