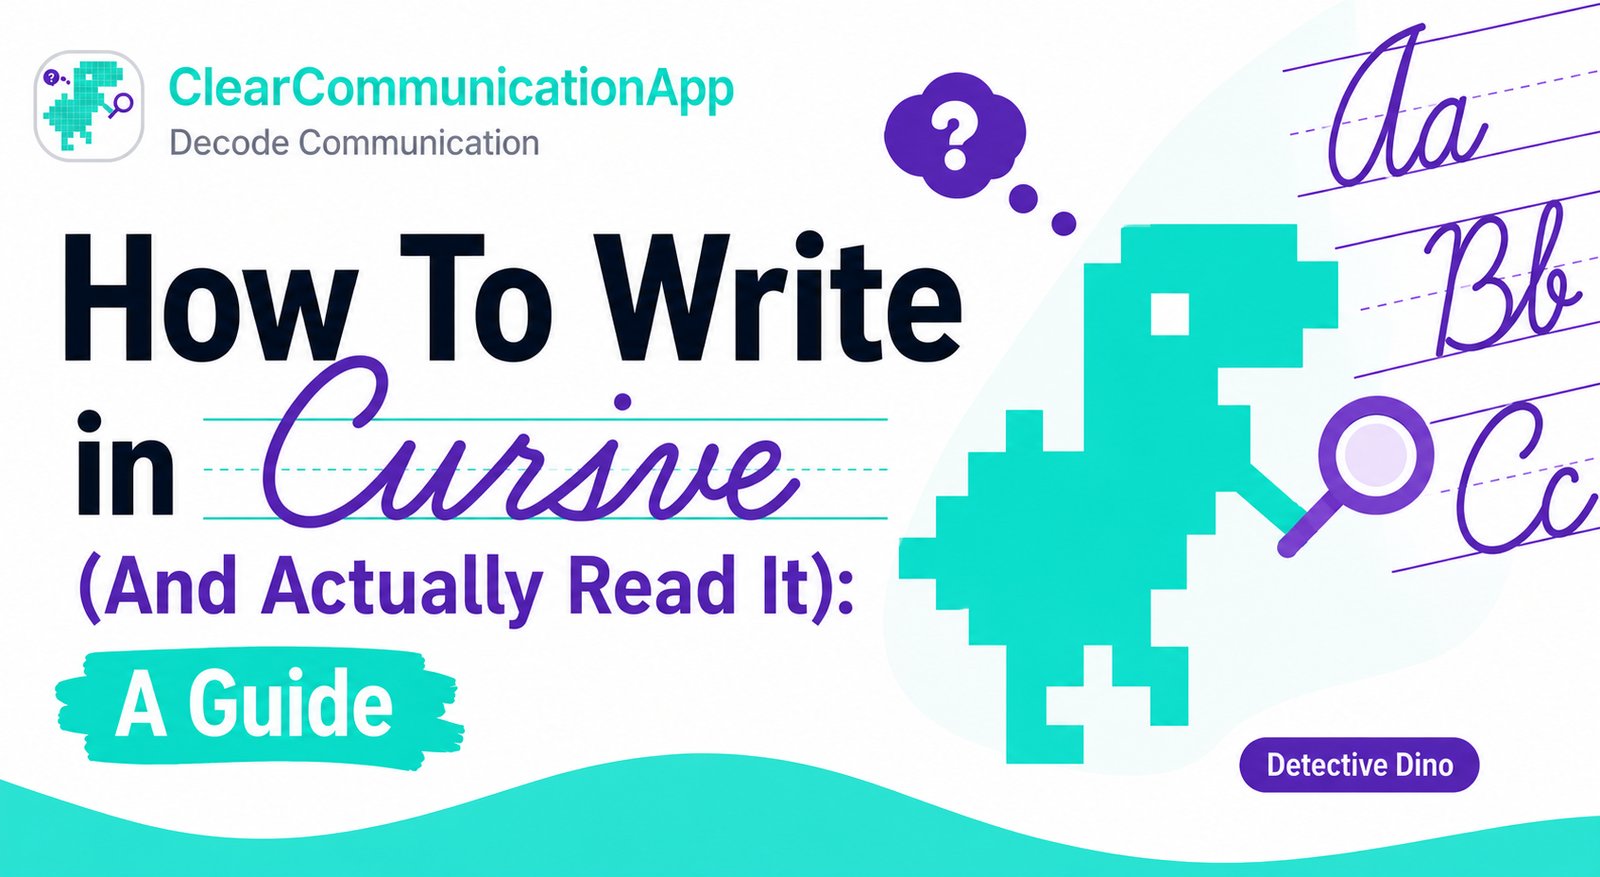
How To Write in Cursive (And Actually Read It): A Guide
Why Cursive Feels Like a Secret Code (And How to Crack It)
If you're staring at cursive handwriting like it's an ancient language, you're not alone. Maybe you missed it (or weren't taught) in school, or the way it was taught didn't click. For ADHD and neurodivergent learners especially, cursive can feel like there are invisible rules everyone else knows but nobody explained clearly.
Here's the truth: cursive has actual rules. Once you know them, it stops being mysterious. You'll be able to write it AND read what other people write—grocery lists from grandparents, historical documents, handwritten notes from teachers.

Step 1: Set Up Your Space (Literally Slant Your Paper)
What to do: Before you write a single letter, angle your paper. The bottom left corner should point toward you.
Why this matters: This slant creates the natural cursive angle without you having to force your hand into an uncomfortable position. Right-handers tilt the paper left; left-handers often tilt it slightly right. The paper does the work, not your wrist.
What to watch for: If your cursive looks upright like print, check your paper angle first. Your letters should lean consistently to the right without you thinking about it.
Step 2: Master the "Stay Connected" Rule
What to do: Your pen or pencil should NOT leave the paper in the middle of a word. Write the entire word in one continuous motion without allowing your writing utensil to leave the paper.
Why this matters: This is what makes cursive cursive. The connected flow is the whole point. Often when first learning this, it feels weird—your hand may want to lift after every letter. That's normal--it's muscle memory from writing print. Your muscle memory needs time to adjust.
Exception: If the first letter is a capital letter that doesn't connect (more on this in Step 5), you'll lift your pen after writing it.
Example: The word "hello" flows as one unbroken line: h-e-l-l-o without the tip of your pen/pencil ever leaving the paper.
Step 3: Dot and Cross AFTER, Not During
What to do: Write the entire word BEFORE you go back and
- Dot your i's
- Cross your t's
- Cross your x's
- Add apostrophes
Why this matters: If you stop mid-word to dot an "i," you break the flow and lose the fluidity of cursive writing. It's slower and messier--when you dot your i's and cross your t's and x's as you go your cursive will look more choppy and inconsistent.
What to watch for: Forgetting to go back! When you finish a word, immediately scan for dots and crosses. Make it part of your rhythm: write word, add marks, next word.
Step 4: Learn the Tricky Letter Transitions
Some letters end in unexpected places, which means the NEXT letter has to start differently.
What to do: When you write these letters, the following letter starts from the following letter's unique endpoint:
- Lowercase: b, o, v, w
- Uppercase: H
Why this matters: The letter "r" is the classic troublemaker. When "o" comes before "r" (like in "or" or "for"), you don't start the "r" from the baseline. You start from where "o" ended—higher up. If you don't adjust, your word looks disconnected or wrong.
Example: In the word "words," the "o" ends mid-height, so "r" begins from that point, not from the bottom line.
What to watch for: If your cursive looks broken even though you're keeping your pen down, check if you're adjusting your starting points after these letters.

Step 5: Know Which Capital (Uppercase) Letters Are Loners
Some capital letters refuse to connect to the letters that follow them. That's just how they work (there always seem to be exceptions to the rule).
What to do: After writing these capitals, LIFT your pen, then start the next letter fresh:
- Uppercase letters: D, F, O, P, J, V, W
Why this matters: These capitals have endpoints that don't naturally flow into the next letter. Trying to force a connection looks awkward and actually breaks the cursive aesthetic. This is the main exception to the "don't lift your pen" rule.
Example: The name "David" starts with a capital D (write it, lift pen), then continue with a-v-i-d as a fluid movement that where your writing utensil doesn't leave what you are writing on.
Step 6: Understand Letter Sizing (The Invisible Lines)
Cursive uses three invisible horizontal lines in your mind: a top line, a dashed middle line, and a bottom baseline (just like print does).
What to do: Memorize which letters break the standard pattern!
Letters that go BELOW the baseline (bottom line where letters normally begin):
- Uppercase (capital) letters: J, Y, Z
- Lowercase letters: f, g, j, p, q, y, z
Lowercase letters that go ABOVE the middle dashed line:
- Lowercase letters: b, d, f, h, i, j, k, l, t
Why this matters: Consistent sizing makes your cursive readable. When letters are the right height and depth, words have a recognizable shape. If all your letters are the same size (bottom to top, uppercase & lowercase), words blur together and aren't legible.
What to watch for: The letters 'f' & 'j' are special—they are the only lowercase letters that cross BOTH above the middle zone AND below the baseline threshold. They're tall and have tails!
Step 7: Practice Reading Before Perfect Writing
Here's something teachers often skip: you can learn to READ cursive faster than you can write it perfectly.
What to do: Start by reading cursive texts!
- Cursive alphabet charts (you are welcome to save this page to use ours for practice!)
- Simple sentences written in cursive
- Handwritten recipes or notes from older relatives
- Get some books printed in cursive!
Here are some recommendations (some my oldest daughter enjoyed when she was learning!):
LIST OF CURSIVE BOOKS AND LEARNING TOOLS
Why this matters: For neurodivergent learners, and anyone who finds motor skills challenging, decoding cursive visually builds confidence before your hand has mastered the motions. Many people can read cursive months before they can write it smoothly.
Pattern recognition tip: Look for word shapes. Common words like "the," "and," "you" appear constantly. Once you recognize their cursive shapes, reading speeds up.
Troubleshooting: When Cursive Still Feels Hard
- Problem: My cursive is messy and uneven.
- Solution: Slow down. Cursive isn't going to be fast at first. Focus on consistent letter size and slant before you become a writing cheetah! You can use lined paper with visible guides to help visualize where every letter should fall in the word.
- Problem: I keep lifting my pen mid-word by habit.
- Solution: Practice writing the same word 10 times in a row, focusing only on keeping the pen down. Your muscle memory will adapt. Start with short words like "cat," "dog," "run."
- Problem: I can't read other people's cursive.
- Solution: Everyone's cursive is slightly different. The more you expose yourself to varied handwriting, the better your brain gets at pattern matching. Ask a friend/family member to write the alphabet for you so you can see their personal style!
- Problem: I have ADHD and my hand gets tired or I lose focus.
- Solution: Set a timer for 5 minutes. Practice writing a sentence in cursive, then take a break. Short, focused practice beats long frustrating sessions. Use a comfortable grip and a pen that glides smoothly—friction makes fatigue worse.
- Problem: The rules for letters not connecting feels random.
- Solution: It's not random; it's about endpoint physics. Write each capital slowly and notice where it naturally ends. You'll see why D, F, O, P, J, V, W can't connect naturally—their tails are just too far from letter starting points to connect!
You've Got This!!!
Cursive isn't a talent you're born with--it's a system with learnable rules. Now you have these rules (and you are welcome to save this page in your favorites to go back and reference them). You now know how to start (slant your paper), how to connect (pen stays on paper), when to lift (after certain capitals), and why letters look the way they do (sizing and transitions).
Start small--write the alphabet. Then write your name. Next write three words. After that write three sentences. Help is available when you need it—visit Detective Dino at ClearCommunicationApp for more strategies, tools, and guides for clear communication.
The secret's out! Cursive is just another code--and now you can crack it! Create a free account at ClearCommunicationApp and you can favorite this guide for easy reference in the future!
Related Articles
Was this helpful?
One new phrase per week
Clear, practical tools for bridging communication gaps. No spam, unsubscribe anytime.
Share this article
